
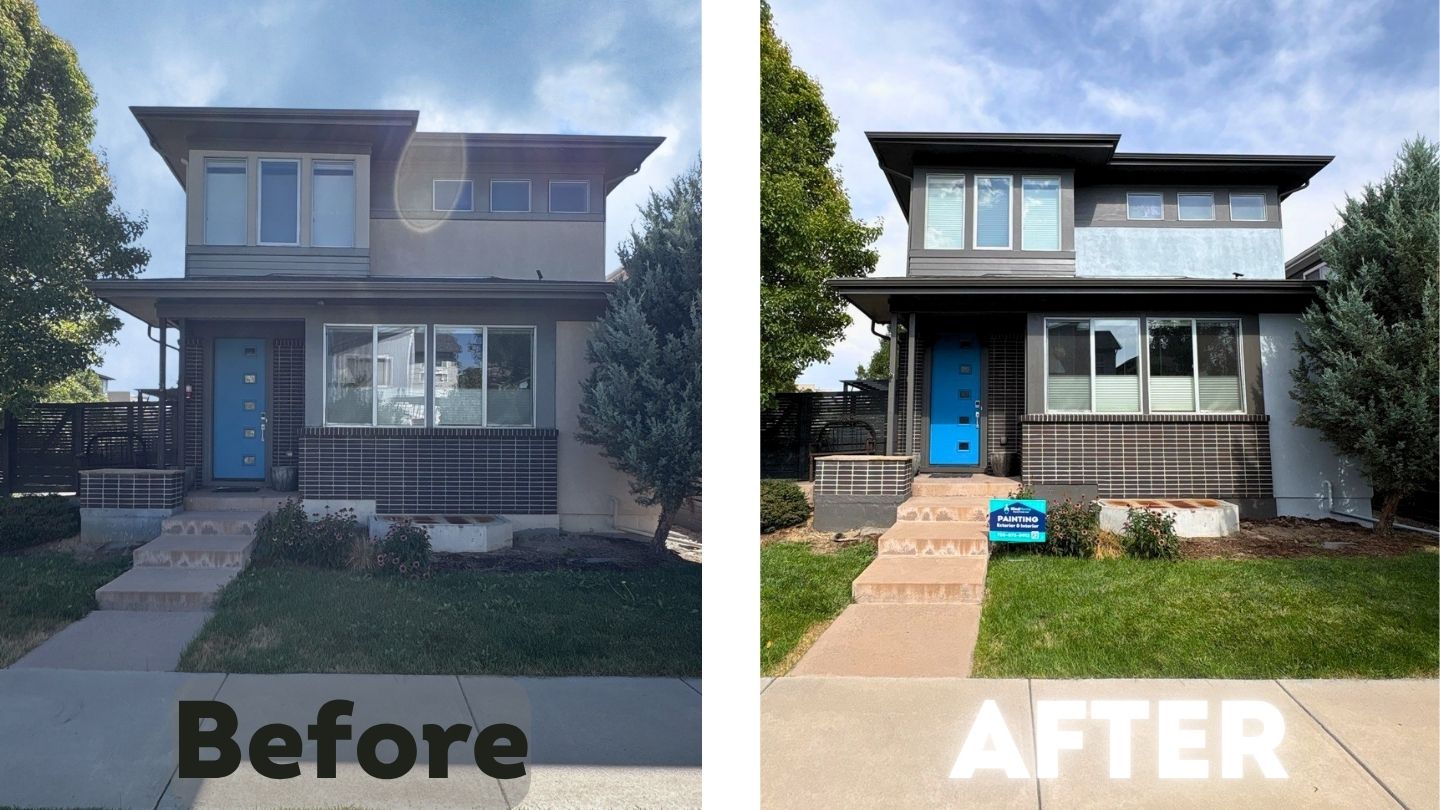
Exterior Painting Before & After: A North Denver Home Gets a Modern Blue-Gray Transformation
Quick answer: A faded beige stucco home in north Denver was pressure washed, repaired, and repainted in Sherwin-Williams Krypton SW 6247 (body) and Urbane Bronze SW 7048 (trim), using the Emerald Rain Refresh system with an 11-year no-exclusions warranty. This client also had their faded fence stained utilizing Behr Premium Wood Coatings Semi-Transparent Stain. The full project, including pressure washing, carpentry repairs, and premium paint, cost between $10,000 and $12,000.
Some homes just need the right coat of paint to revive the beauty that’s already there.
That was the case with this beautiful, two-story home in north Denver. Years of Colorado sun had faded the original beige stucco down to a flat, tired exterior. This client wanted their home to feel the way it did when they first moved in. So, our team brought it back to life with a pressure wash, woodwork repairs, ample prep and updated colors that will complement the home’s fixed features for years to come.
This project was brought to life by Todd Stanton, Project Manager extraordinaire! You can learn more about Todd HERE.

The Before
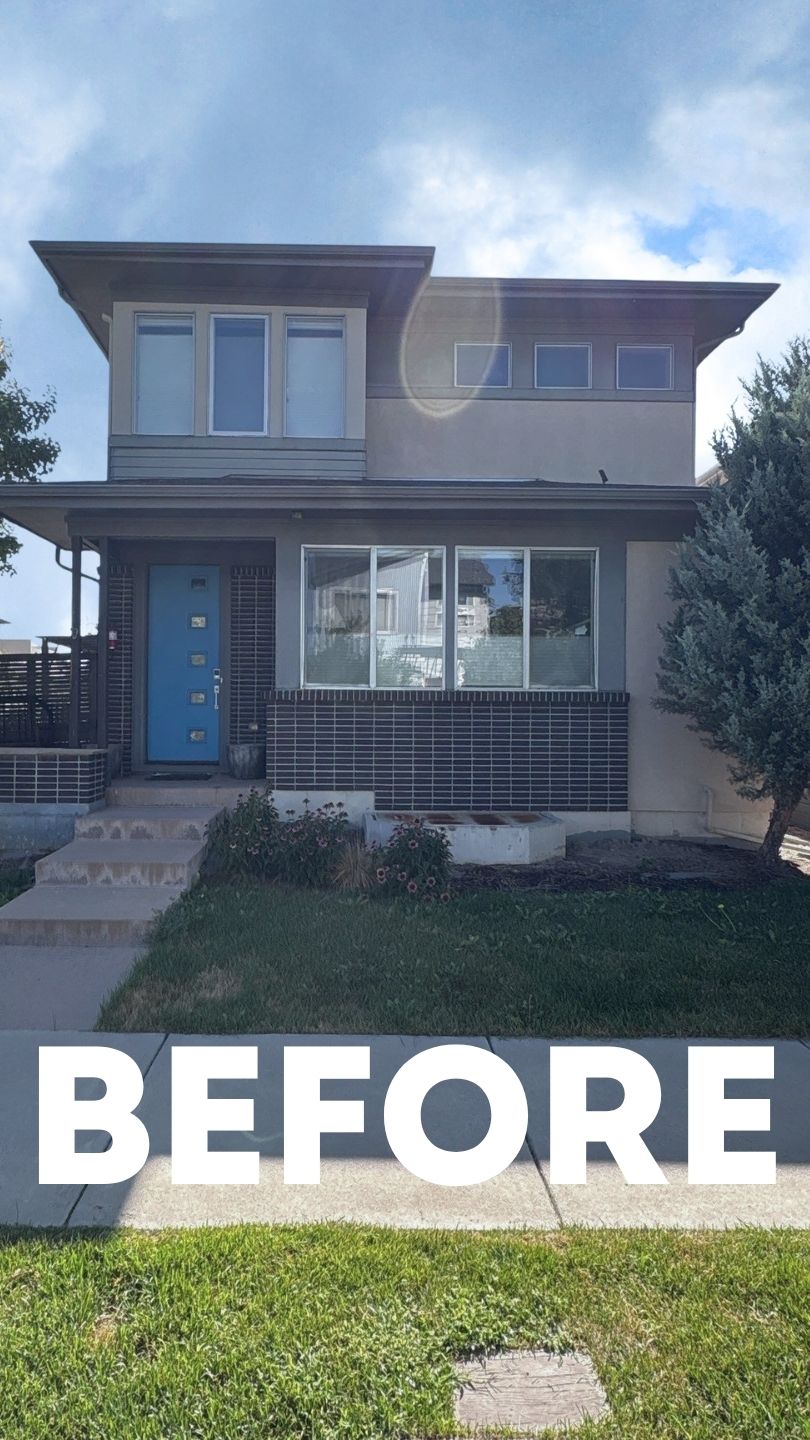
This home is unique and such a fun exterior paint project to tackle! The home features stucco, MDF siding(medium density fiberboard), and unpainted brick. As well as a fence that needed a new stain.
The home’s stucco and trim paint had faded evenly across the home, and the previous colors weren’t giving it any character. There was also damaged siding boards at various vulnerable spots across the home. It’s a pattern we see a lot in Denver exterior painting projects: a beautiful home with an exterior that just couldn’t hold up against the Colorado elements anymore.
Step One: Pressure Washing Before Painting
Before any prep or paint happened, the exterior got a full pressure wash by one of our in-house technicians. We cleaned away years of dust, pollen, cobwebs, debris and loose or chalking paint. This allows the new coat of paint to actually bond to a clean surface instead of sitting on top of built-up grime. If you skip this step even the best paint won’t hold up the way it should.
*It’s important to note that if your home is lead positive (likely the case if it was built before 1978) we do not pressure wash in order to avoid lead paint particles from dispersing where they shouldn’t. Instead we do a “hand-wash” before painting.
Siding Repair Before Painting
Repairing damaged or rotting boards is a vital, but often overlooked step. Some homeowners might skip this step to save money, but it will just cost more in the long run. Plus, your final product will not look as good.
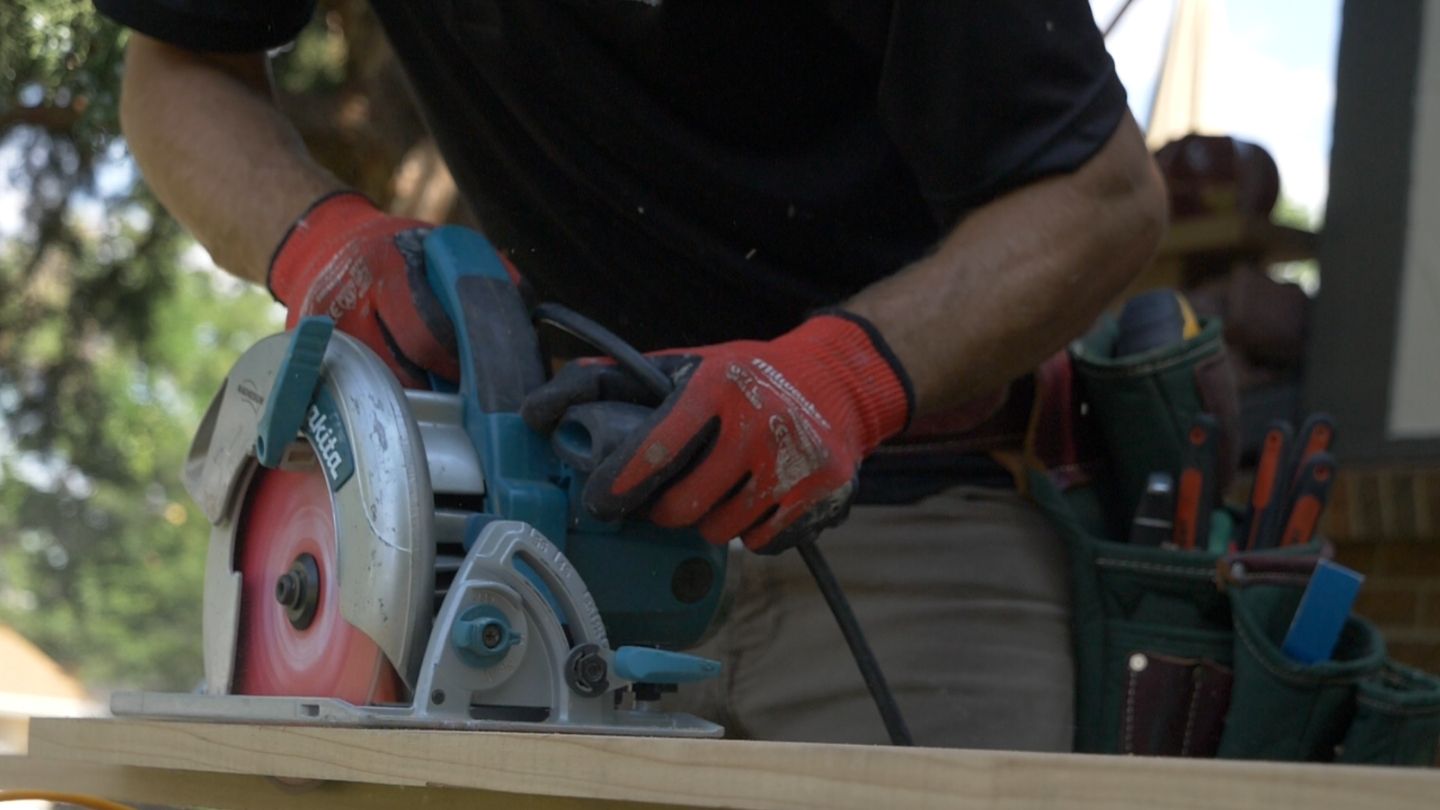
This particular project had several boards that had become worn down over the years. Rather than paint over the problem, we performed some light carpentry to repair and replace the damaged sections.
We don’t typically do fence repairs, but this project was a rare case where we were able to repair the top banister of their aesthetic fence.
It’s a small thing that makes a big difference: painting or staining over rotten or damaged wood just hides an issue that keeps getting worse underneath.
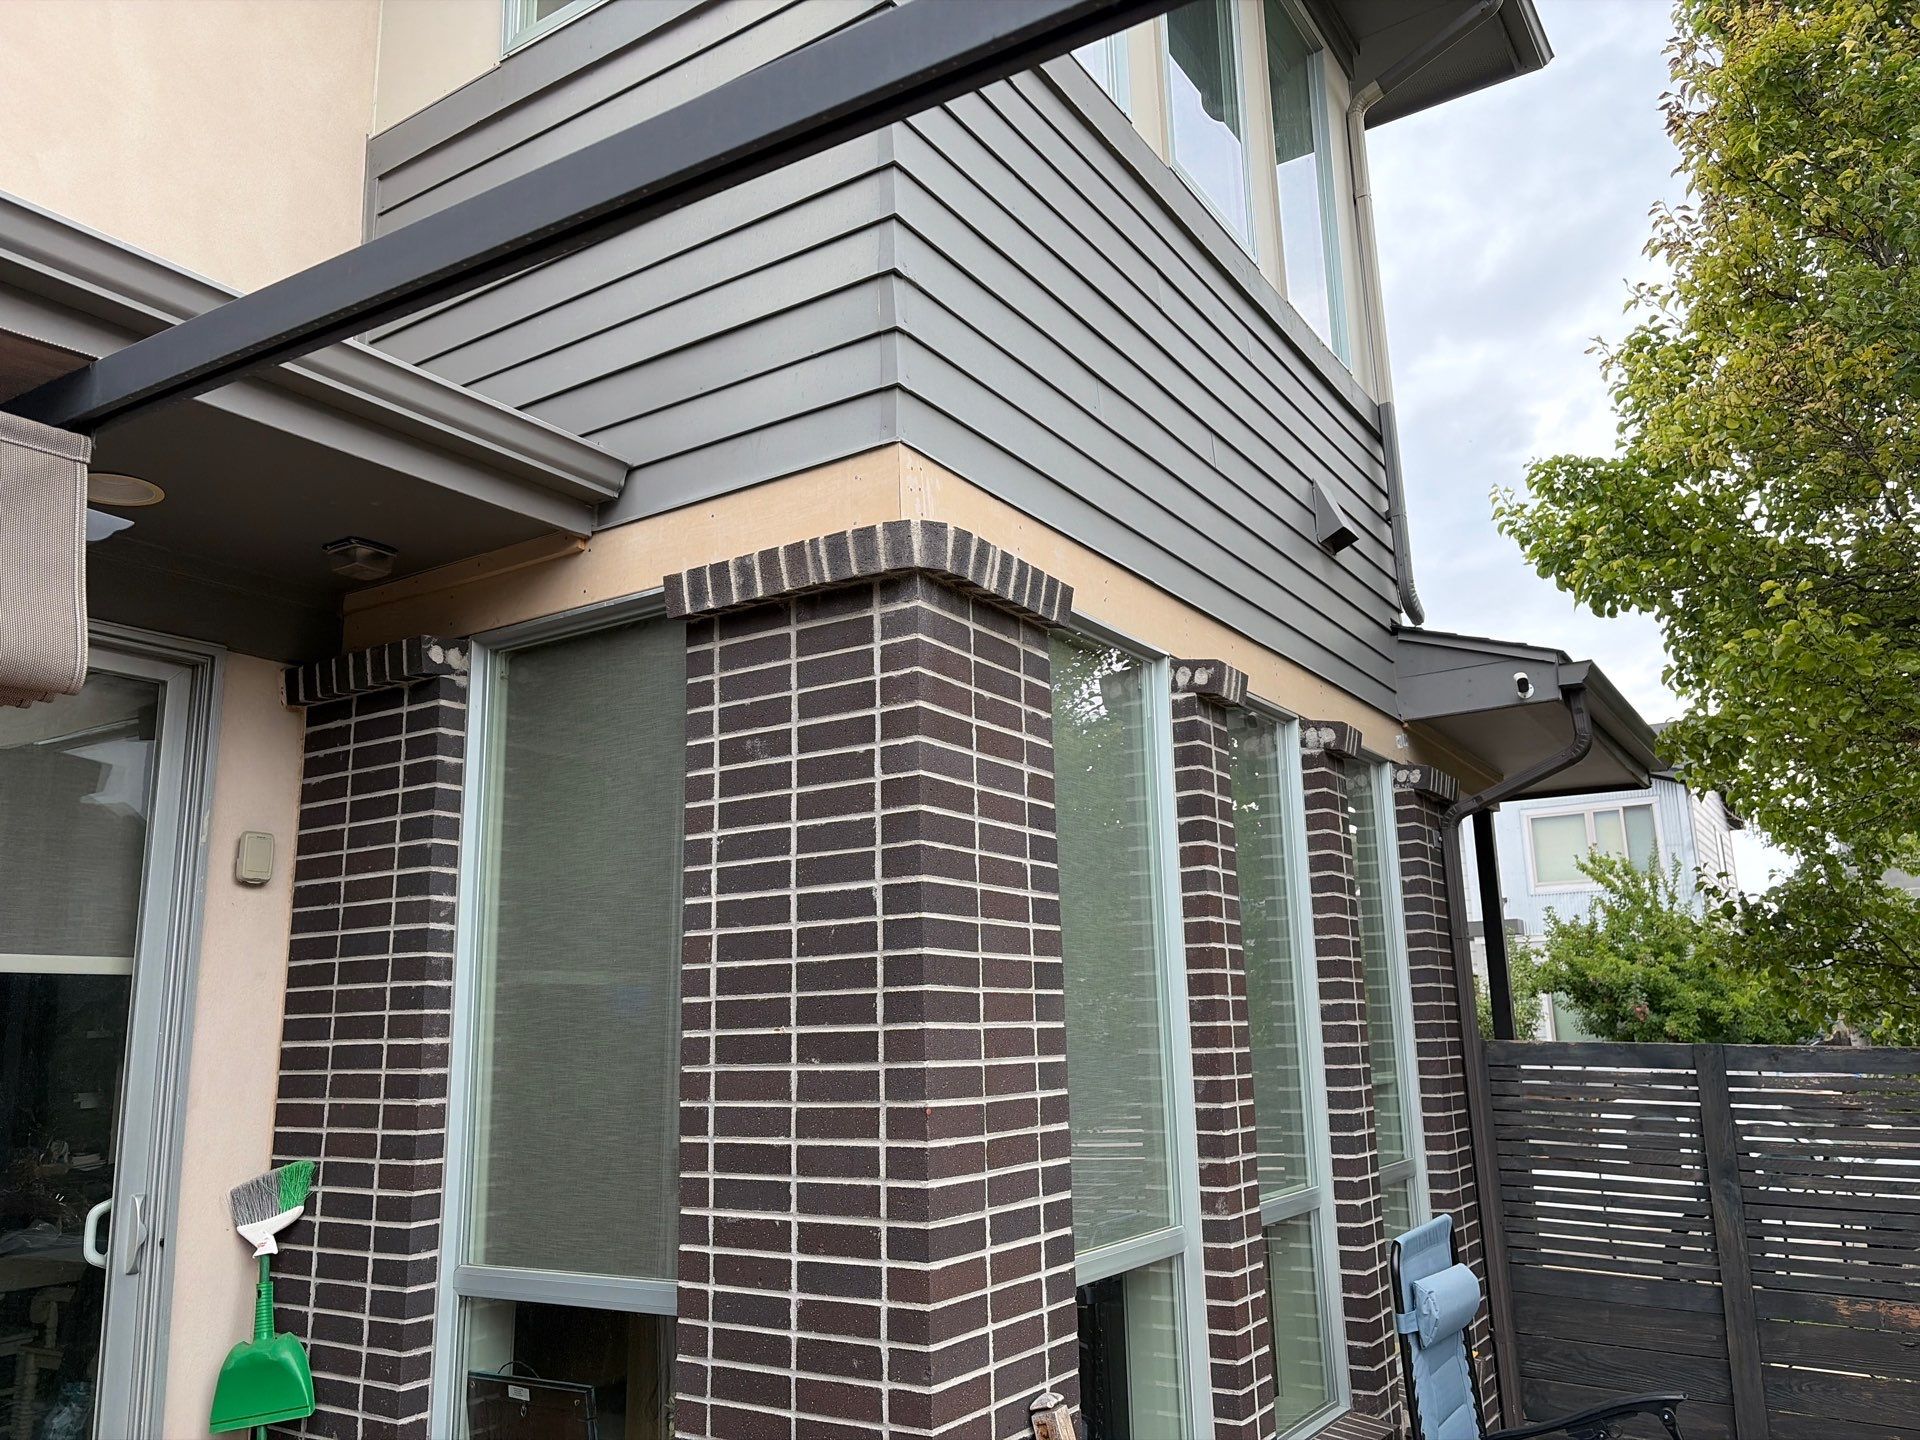
Replaced siding boards
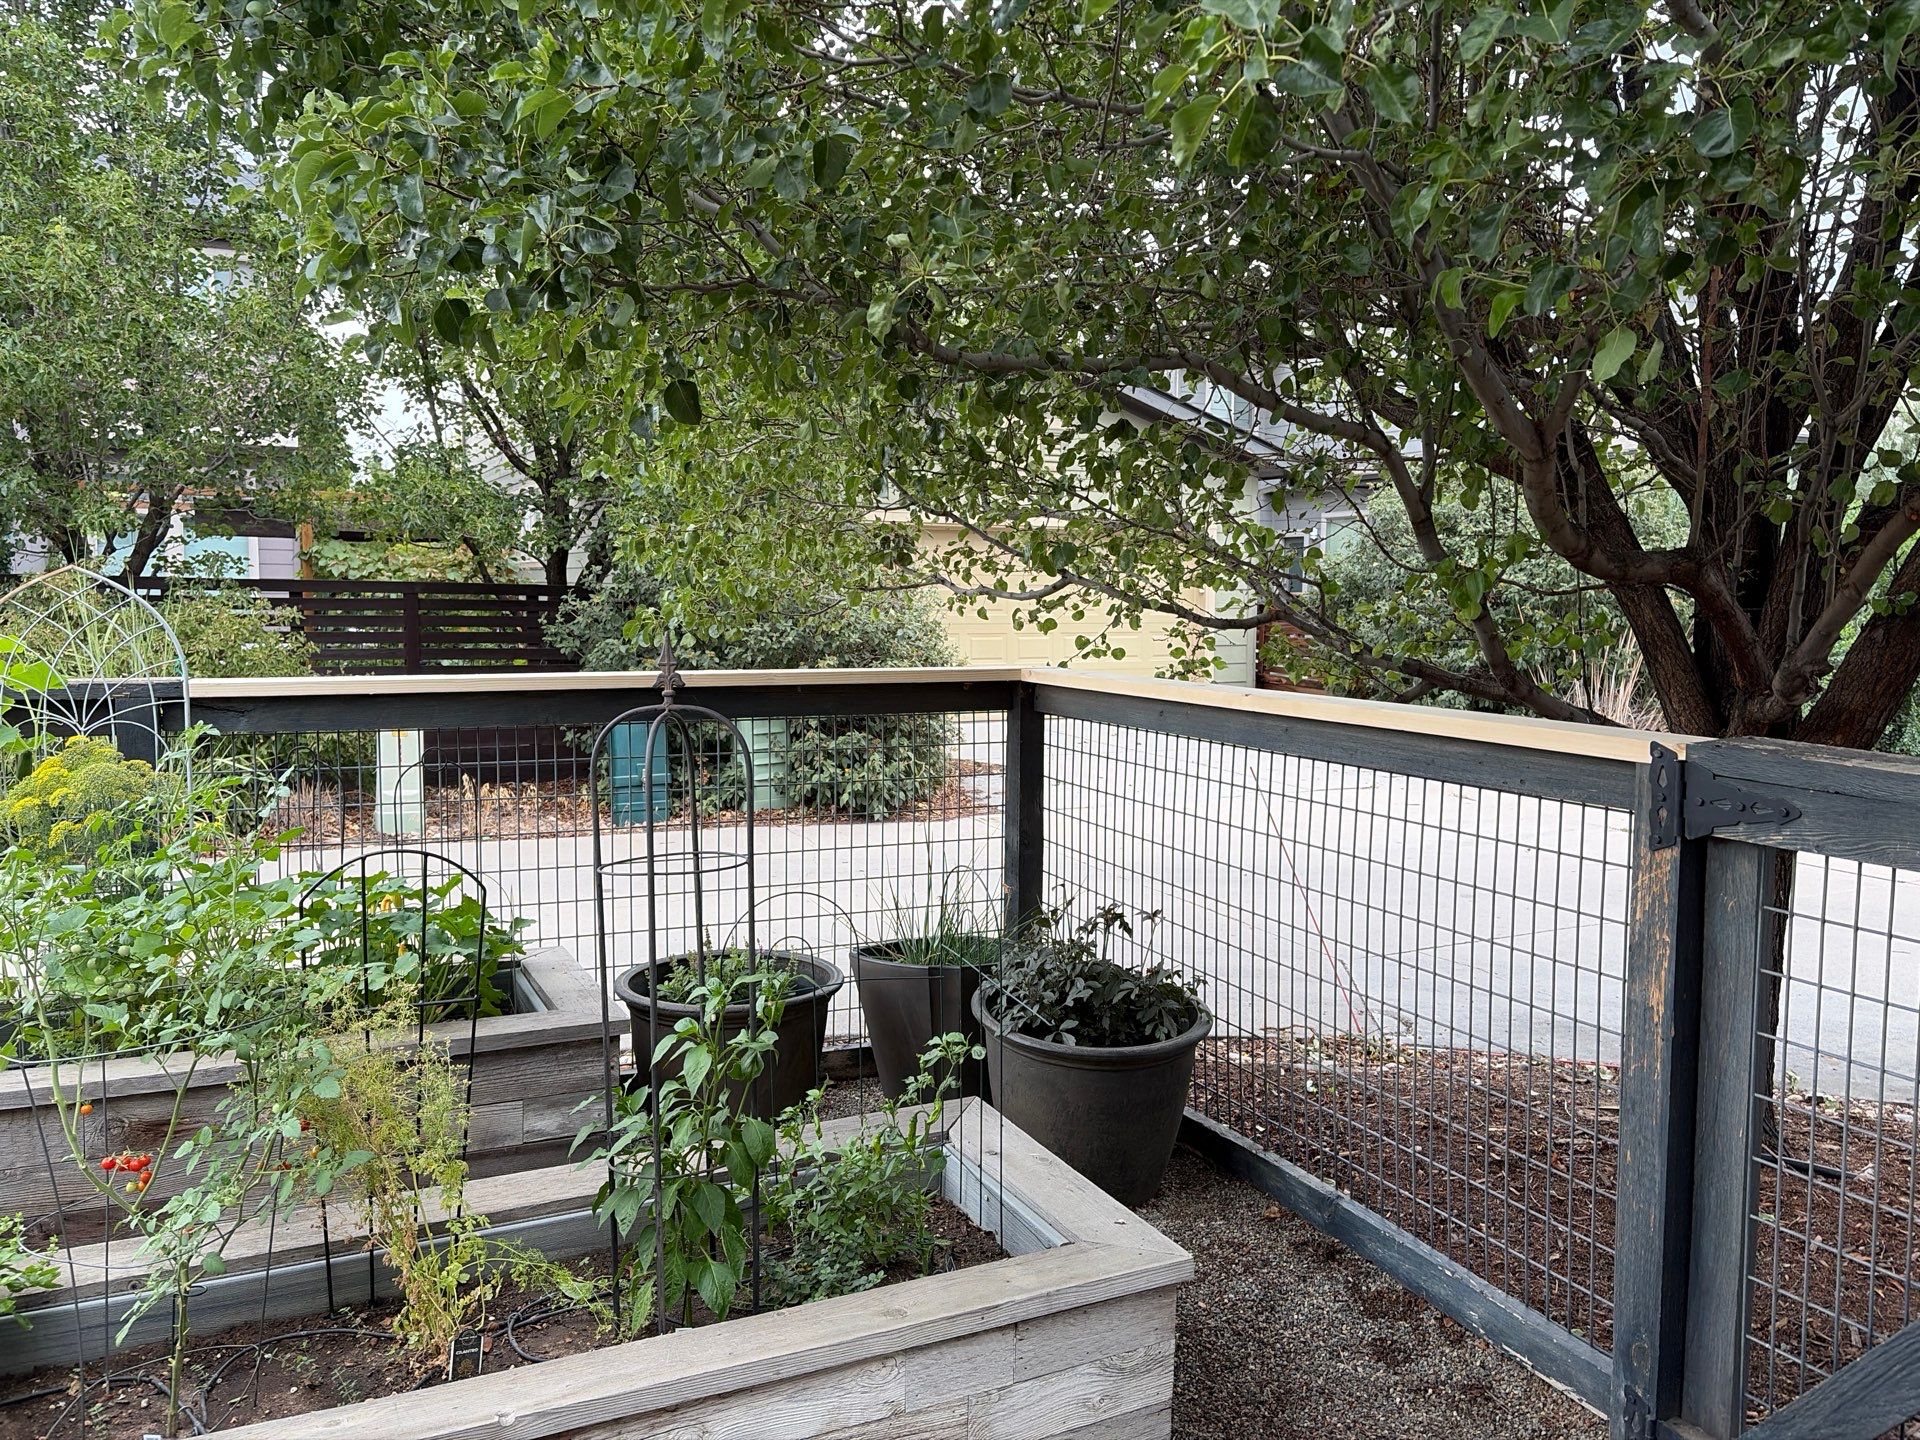
Replaced boards on aesthetic fence
Minor Stucco Repairs
Luckily, there were only some very minor, hairline stucco cracks on this project. For small stucco cracks like we saw on this project, our paint team is able to perform the repairs. If the damage is too large or severe we would need to bring in a third party for the stucco repairs.
Paint Prep
This project received the same intentional and tedious prep that our team provides every home.
Masking, taping, protecting, scraping, caulking, priming… More masking, taping, protecting, scraping, caulking, priming…
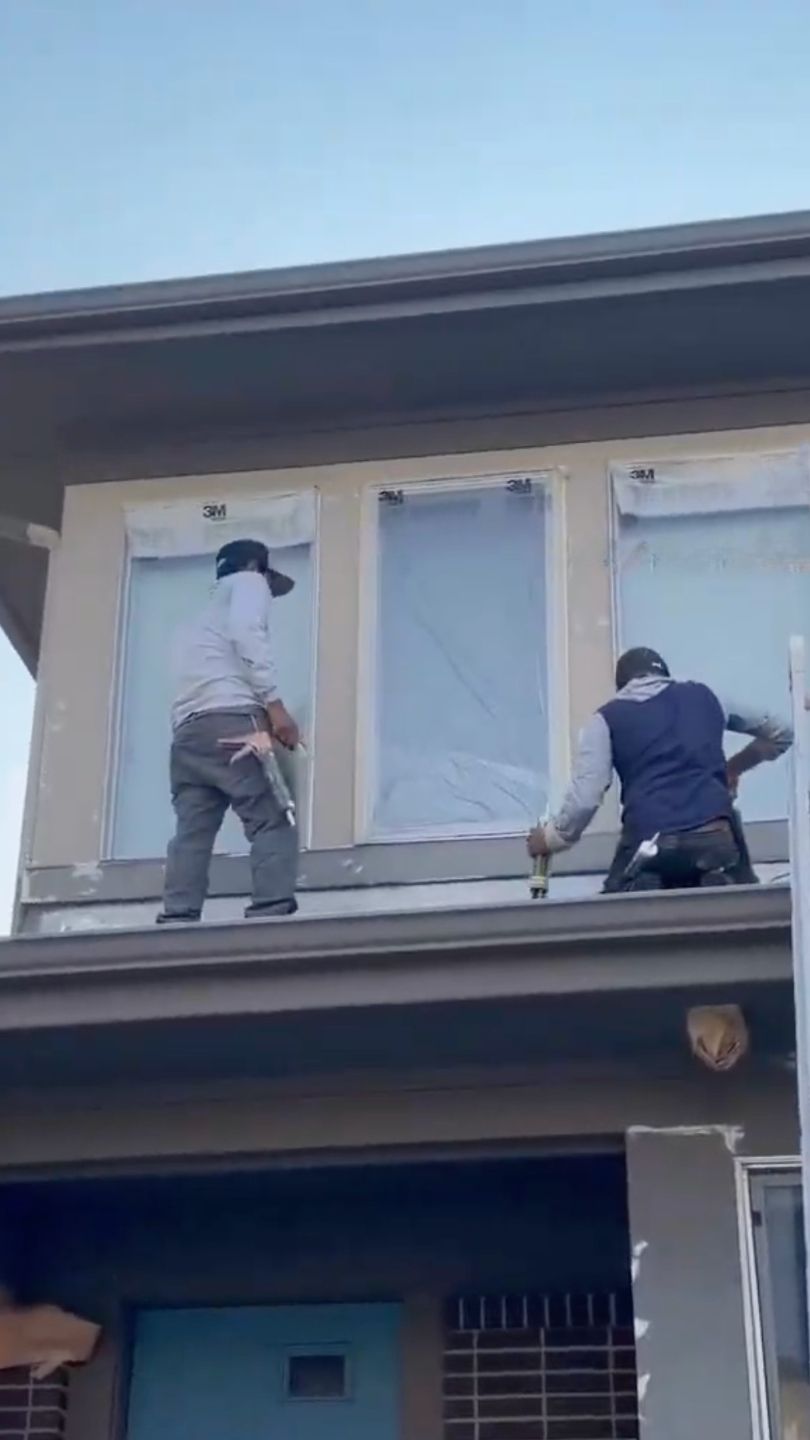
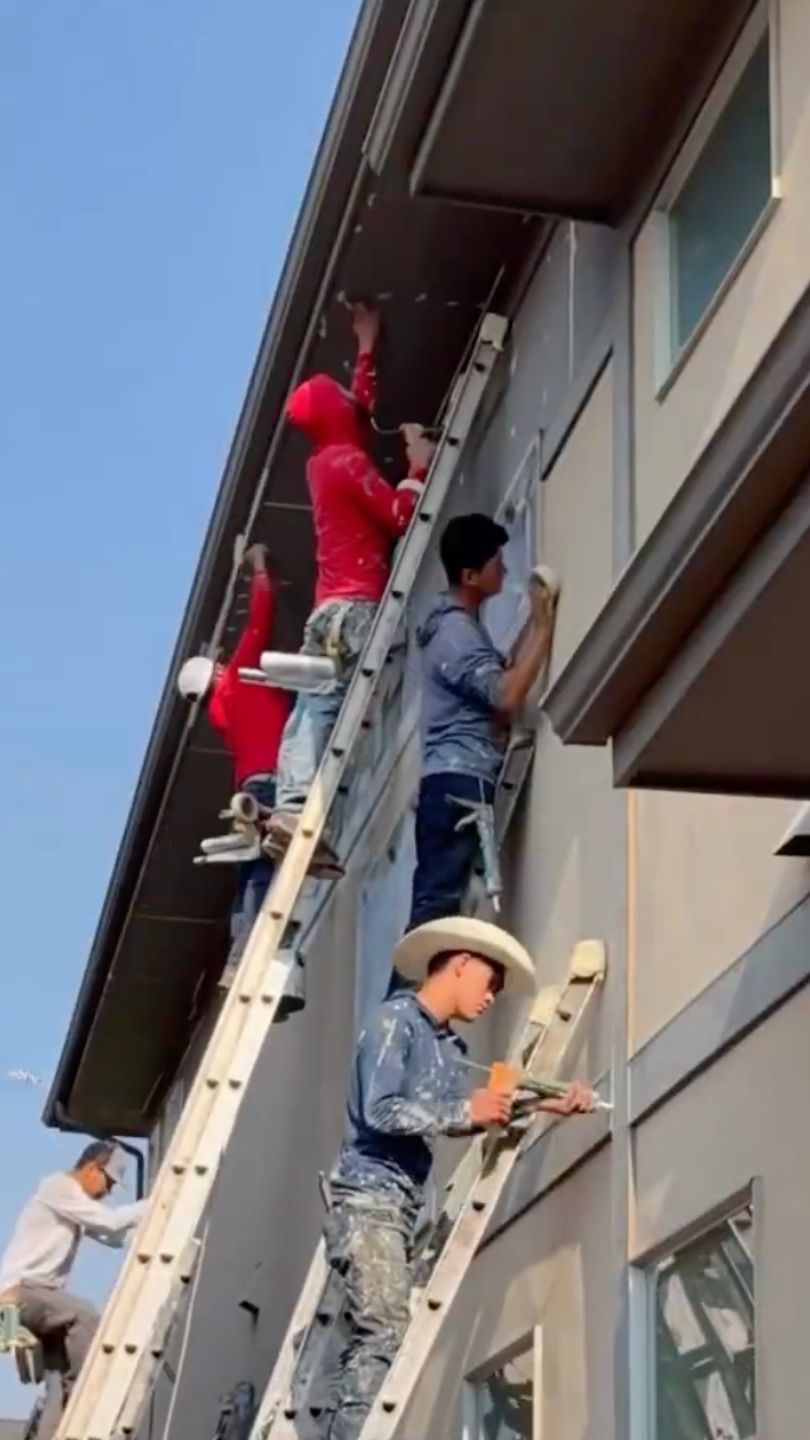
This is the part of the process that may not look the most enticing, but it is, without a doubt, the most important step to painting.
Detailed prep is what sets apart a professional paint job that will last and an amateur one that will fail in a couple years.
The Paint Colors: Krypton and Urbane Bronze
Time for the fun part: Painting!
The body of the home was painted in Sherwin-Williams Krypton SW 6247, a soft, cool blue-gray that feels modern without feeling cold.
The trim, window frames, and siding were finished in Sherwin-Williams Urbane Bronze SW 7048, a deep, warm dark bronze that gives the whole house definition it didn’t have before.
The two colors complement each other perfectly while working really well with the unpainted, dark brick.
“For the stucco we always make sure to utilize a back-rolling technique where one painter sprays and they are followed by a secondary painter who rolls or back-rolls the paint into the stucco. Stucco is pretty porous, so this ensures the paint gets into all the pores, and nooks and crannies of the stucco”
-Todd Stanton, Project Manager
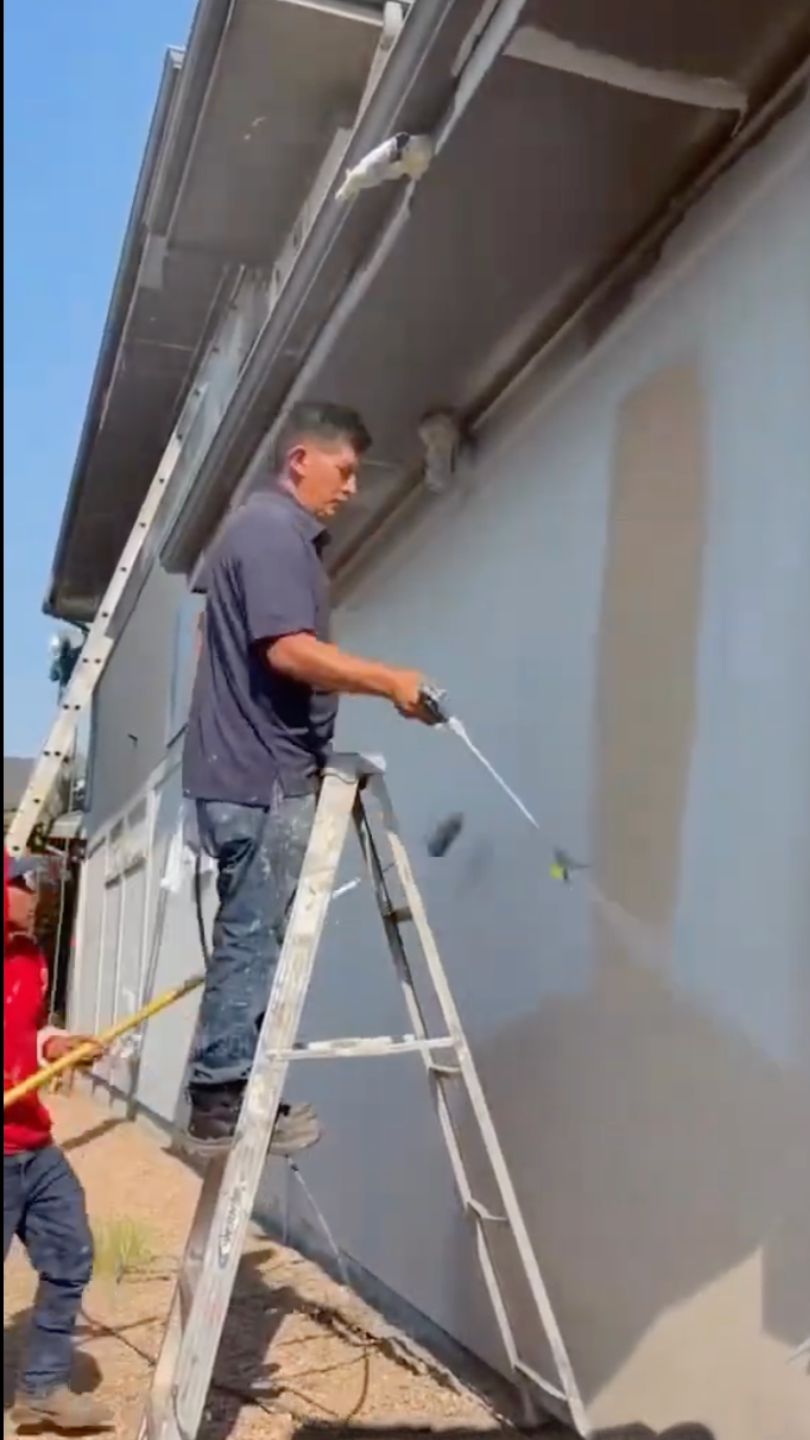
Back-rolling the paint into stucco
This client utilized Sherwin-Williams Premium Paint, Emerald Rain Refresh, a hydrophobic, self-cleaning exterior paint. It’s Sherwin Williams best available exterior paint product. We pair Rain Refresh with our 11-year no-exclusions warranty, covering chipping, cracking, fading, peeling, caulk failures, and up to $1,000 in hail damage.
This client will have assurance that their paint will last and their home will be protected for years to come.
Want to learn more about SW Emerald Rain Refresh? Watch Michael Sutton, Owner & Founder of Kind Home, discuss the benefits of Rain Refresh.
The After
The difference is immediately noticeable. The lighter Krypton body helps the home stand out and the Urbane Bronze trim gives every edge and frame a crisp outline. The final product makes the home feel personal. What once was another home on the block, now has real character!
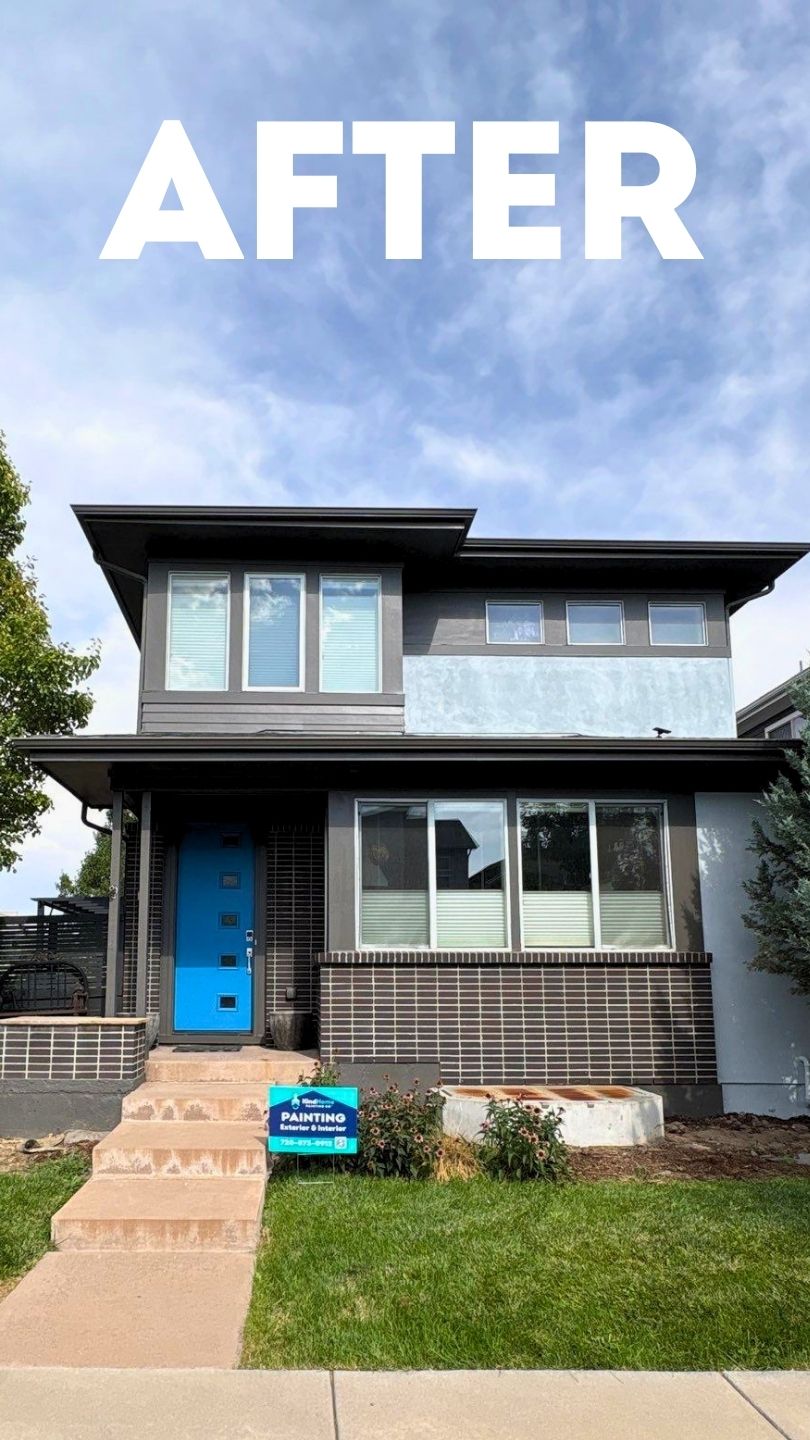
Watch the transformation on our Instagram here: @kindhomesolutions
What This Project Cost
This project landed in the $10,000 to $12,000 range, which is typical for a full exterior repaint of this size once pressure washing, carpentry repairs, prep, and a premium paint system like Rain Refresh are factored in. Every home is different, so your own number will depend on square footage, the condition of the siding, the warranty you choose, and how many colors are involved. A free, on-site proposal is the fastest way to get an accurate price range for your home.
Why It Matters
A few things this project shows about how we work:
- You won’t pay until your project is completed, inspected, and you’re 100% satisfied.
- We don’t paint over problems. If something’s damaged underneath, we fix it first.
- Your paint is protected by our no-exclusions warranty, no fine print, no surprises.
- Your home is treated with Kindness, Love, and Respect, from the initial consultation to the final walkthrough.
If your own home is due for a transformation like this one, we’d love to talk color, products, and timeline with you.
Schedule Your Free Estimate or Call Us Today at (720) 637-4805.