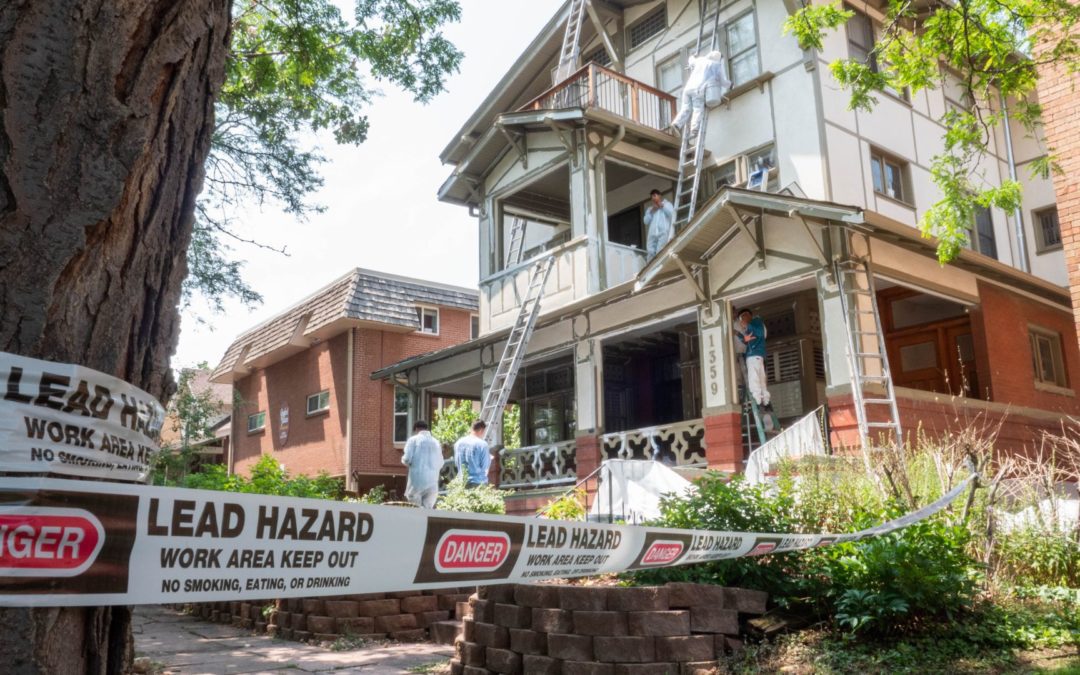
As a Denver painter, Kind Home Painting Co. sees a wide variety of home styles, ages, shapes and sizes. That means we encounter quite a few lead-based homes. If you live in the Denver area and are considering painting your home, you should be aware of how to properly handle lead paint. As we all know, lead-based paint can be harmful and very dangerous if handled improperly.
If you are hiring a professional you should be sure that you work with a lead certified renovator. It’s not against the law to work with painters that aren’t lead-certified renovators. However, lead-based renovations are regulated by the EPA and it is in your best interest to work with lead-certified renovators. As a lead-certified painter we take every precaution when it comes to painting lead homes and we participate in on-going training and certifications. Keep reading to learn what you should be aware of when painting a lead positive home.
What to Be Aware of When Painting a Lead Home
Testing for lead paint
The first thing you need to consider is the age of your home. Lead-based paint was commonly used on residential homes until it was banned from residential use in 1978. So, if your home was built prior to 1978 it is likely lead positive and you will need to test for lead. If your home was built after this it is likely lead-free, but it may still be smart to have it tested for lead if it was constructed close to that date.
You can identify lead paint just by looking at it if you know what to look for. When lead paint starts to deteriorate it will begin to crack and chip off. We usually say it looks like alligator skin when it begins to deteriorate! Your paint could still be lead-based without showing these characteristics. That’s why your painter should always test the paint and not make any assumptions.
The process for testing for lead paint is very simple. A lead test is easily performed by rubbing a lead test swab on the exterior siding of your home or taking a chipped off piece of paint and testing that sample. It is important to test multiple areas of the home for lead as well. Some areas may not come up as lead positive while others may. They will have the results almost immediately.
If your home is lead positive, don’t panic! It is not as big a deal as you may think. The important thing is that your painter is certified to handle lead and takes all the necessary precautions to contain it.

The dangers of lead paint
Most adults know better than to go around putting paint chips in their mouths, but most kids do not (and your pets definitely don’t know any better!). That’s why dealing with lead is all about containment and proper disposal. The last thing you want is to have any paint chips left behind for pets or kids to play with.
One of the more common ways that you or your loved ones may be exposed to lead paint is from dust. Dust from lead paint is one of the biggest issues that occurs when renovating a lead-positive space. Dust from lead paint can contaminate your soil and get tracked into your home. If there is enough lead dust accumulation it can become very hazardous. That’s why it is so important to mitigate lead contamination when painting or performing any other renovations. If your painter isn’t taking the proper precautions when handling lead, it can become a big problem. If you ‘d like to learn more about the dangers of lead paint you can check out the EPA’s Renovate Right Pamphlet.
Our process for handling lead paint
1. Never Pressure Wash A Lead Home
While we typically pressure wash all exterior projects prior to painting, we will never pressure wash a lead positive home. This is to ensure that we contain any lead from spreading or contaminating any areas. Our painters will hand wash the home as necessary to ensure the surface is clean and ready for a fresh coat of paint.
2. No Sanding
We will never sand any of the surfaces either. Sanding will obviously create a lot of unwanted dust. Our goal is to create as little dust as possible. The less dust we create, the safer you, your family and your pets are.
3. Collecting & Disposing of Lead Paint Chips
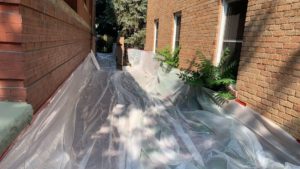
Now, while our process will ensure as little dust and spreading of lead particles as possible, we may need to scrape areas to prep them for a new coat of paint. As you likely know, lead paint will crack and tends to look a lot like alligator skin. In order to prep those areas, our painters will inevitably need to scrape away that failing paint. Don’t worry though, we will always put down plastic tarps to catch and contain any paint chips. Your Project Manager will ensure that the perimeter of the home and any area being worked on are prepped with plastic. Once our painters are done they will fold up all plastic and dispose of it properly to ensure no further contamination.
4. Provide Painters with PPE
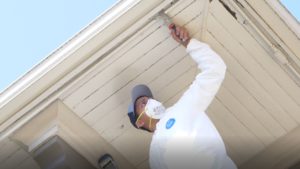
We always provide all of our painters with PPE (personal protective equipment) on lead positive paint projects. PPE is vital for painters to safely handle lead paint. While it is up to them as to whether or not they use the protective equipment, it is required that we provide them with the proper materials. PPE may include gloves, gowns, shoe covers and face protection.
Conclusion – Precautions to Take When Handling Lead Paint
It is smart to make sure your home is tested for lead prior to any renovations, especially if your home was built prior to 1978. There are a lot of rules and regulations around proper handling of lead. That’s why you should always work with a lead-certified painter that is equipped to handle such a project. Your painter should never pressure wash or sand a lead paint project in order to minimize the creation of lead dust. And lastly, you should always make sure to collect any and all paint chips and properly dispose of them.
If you are looking for a Denver painter that can handle your lead paint project, look no further! To get a free estimate give us a call at (720)-6374805 or contact us HERE. If you have any questions please don’t hesitate to reach out!
